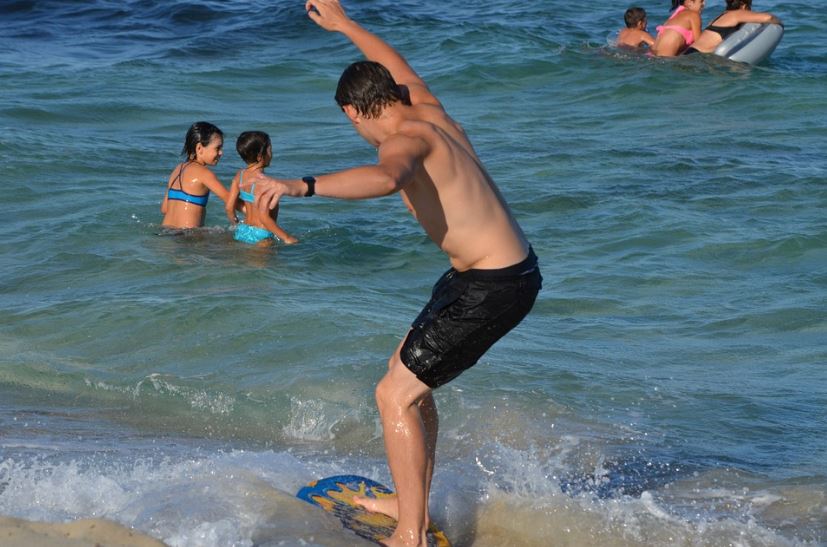
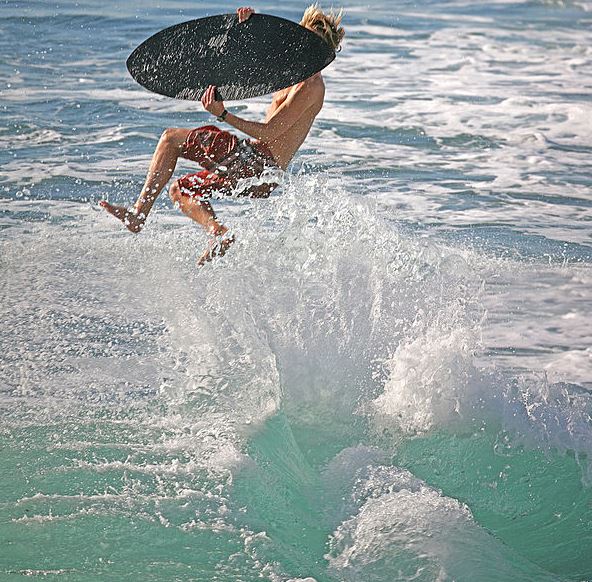
Skimboarding has become an increasingly popular activity among beachgoers and water sports enthusiasts. As the temperature rises during the summer, more and more people decide to try something new, including skimboarding. In this article, you’ll learn more about skimboarding, how to skimboard, how to prepare, and other tips and advice.
What is Skimboarding?
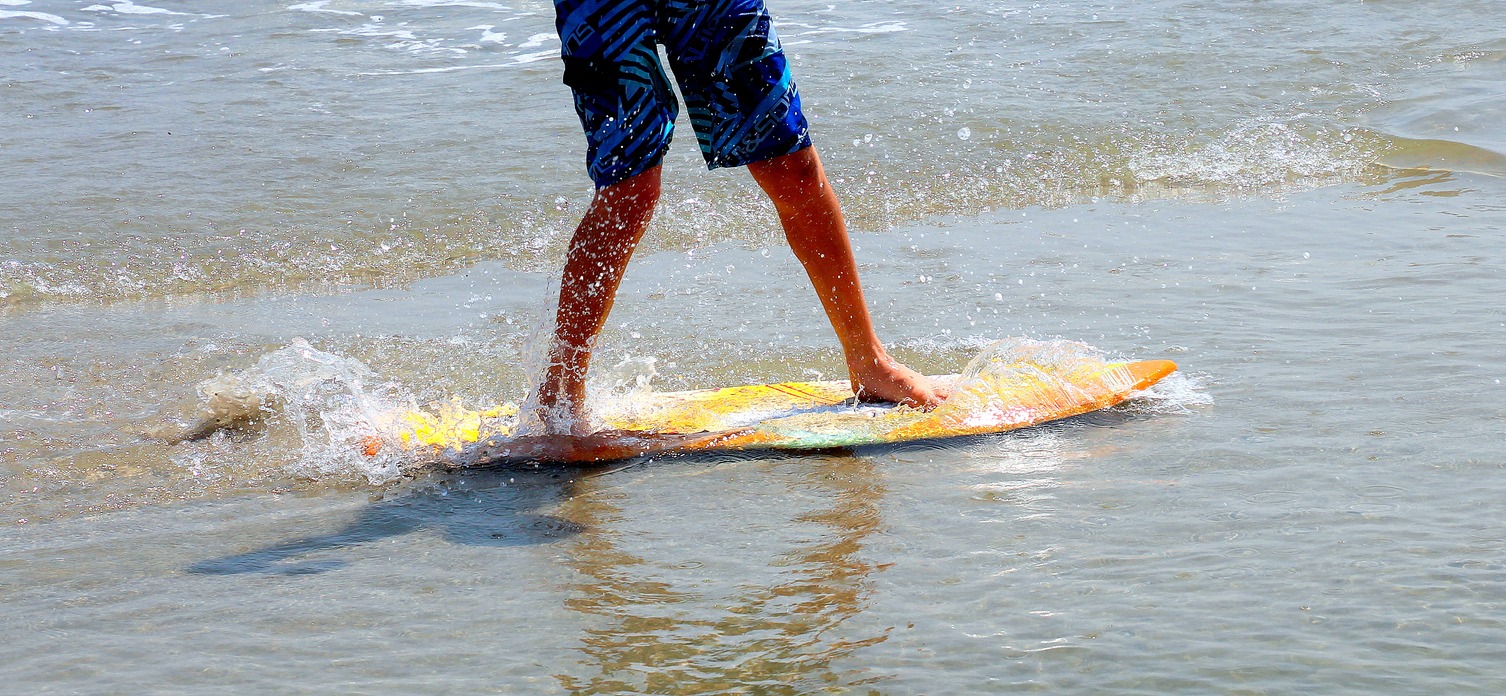
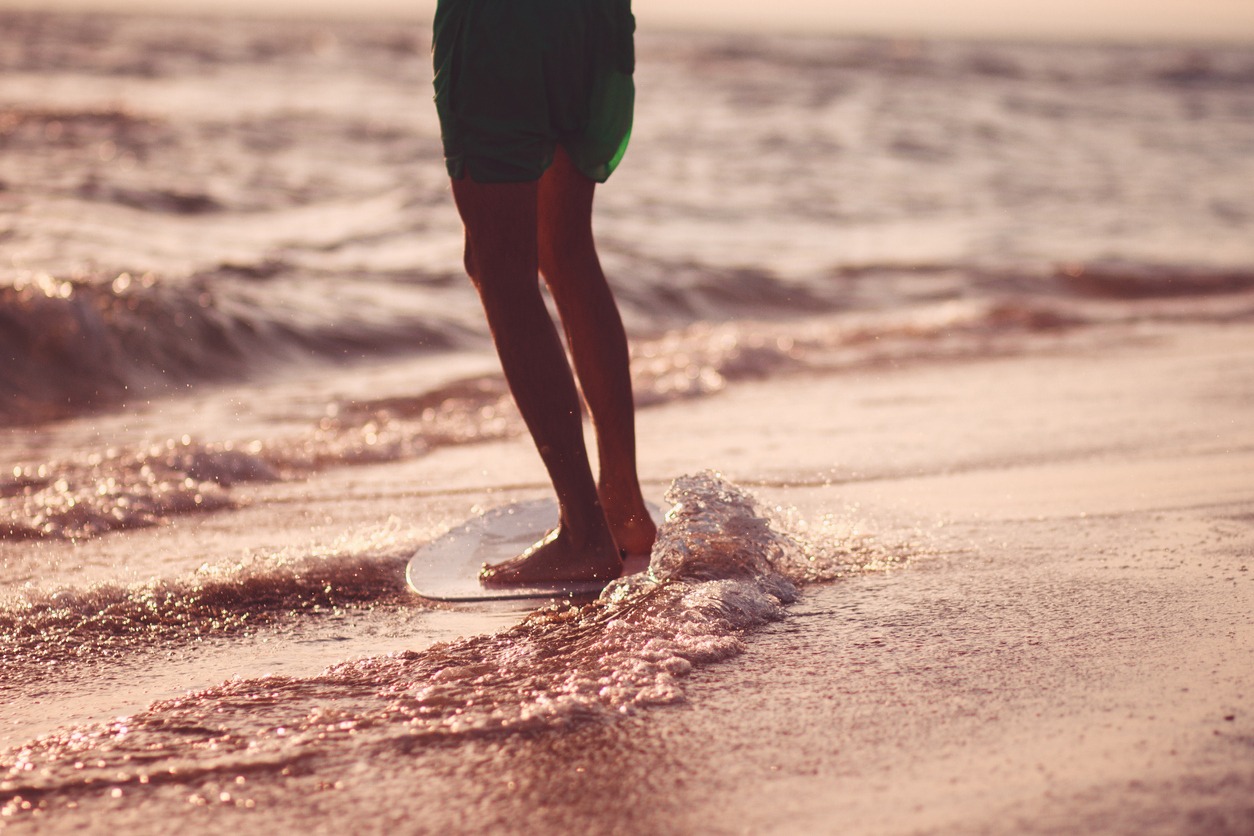
Skimboarding, also known as skimming, is a board sport in which a skimboard is used to glide across the surface of the water to meet an incoming breaking wave and ride it back to the shore. If it sounds like surfing to you, the difference is skimboarding begins on the beach by dropping the board on the thin wash of the previous waves. Riders use their momentum to skim out to breaking waves, which they can catch back to the shore in a way similar to surfing .
Another aspect of skimboarding is flatland, which involves performing tricks derived from skateboarding, like ollies and shove-its on the wash of waves without catching shore breaks. Developed in the 1920s by lifeguards in Laguna Beach, California, it entails riding along shorelines on flat boards.
How to Prepare for Skimboarding
Even as someone who’s just starting, you need to overcome your fear of failure and be ready to start over and over again. The only way you’ll learn how to balance a skimboard is by doing it while in motion. Be ready to fall and get wet multiple times until you find the right way to keep your balance. The good thing is that it will be less painful than learning how to ride a bike or how to skate since sand is softer than concrete or ice.
For a beginner, learning how to balance the board seems hard, but skimboarding becomes a joyful experience once you learn how. First, you have to find the right spot. A flat beach that is sand-based is the best place to learn. Later as you progress, you can try out wave skimming on other kinds of beaches, but when you’re starting, a sandy beach is the best choice.
To prepare yourself for skimboarding, you’ll have to get in shape. You don’t need to have a perfectly toned body – you just need to work on your legs, and your running speed since skimboarding will require lots of running and chasing your board. Because of that, you also need to work out your heart and cardiovascular strength.
Another most important thing is the board, but we’ll discuss it in the next part.
What to Look for When Buying a Skimboard
There are only three things necessary to start skimboarding – a board, beach, and a strong will to learn a new thing. Since the board is the only thing you can buy, that’s where we can help you.
A. Types of Skimboards
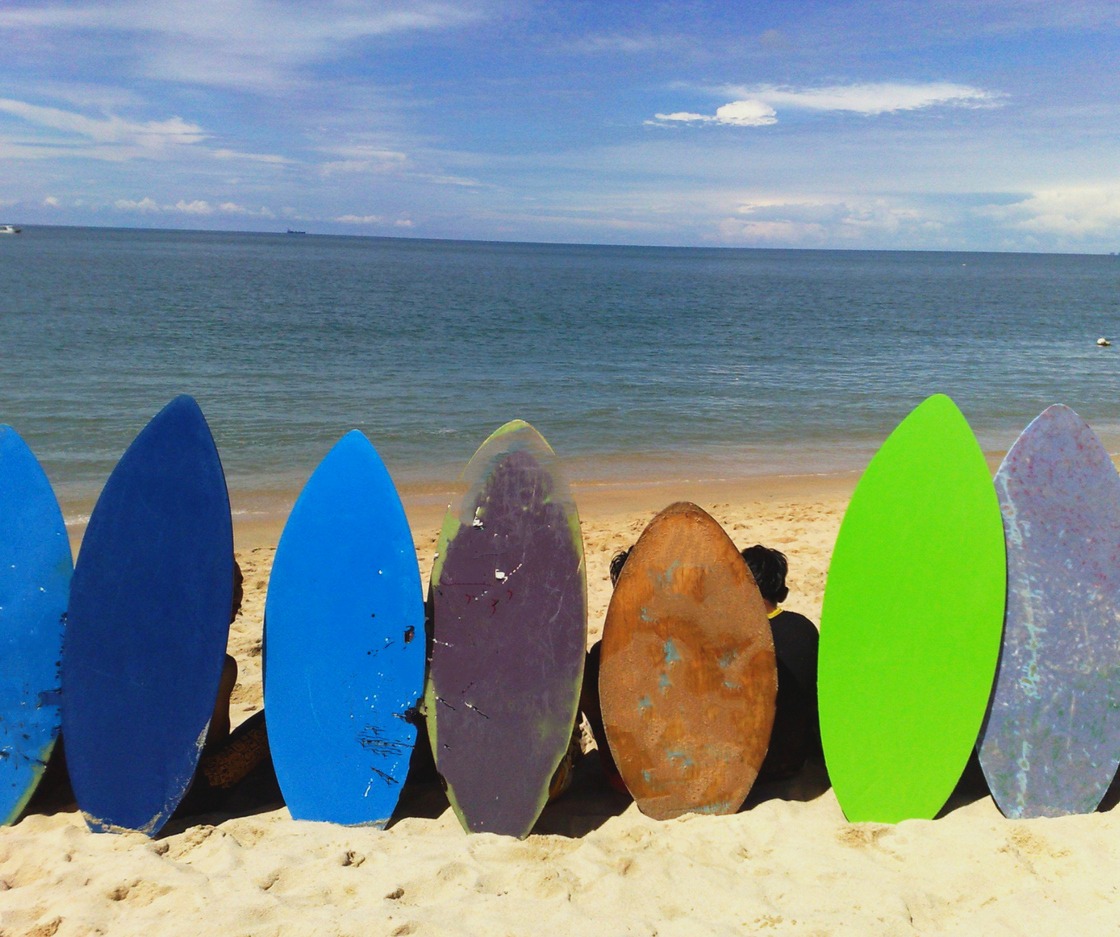
Skimboards come in different shapes, sizes and designs, but here are the two main types of skimboards: wave riding skimboards and flat or inland skimboards.
1. Wave riding skimboards
Wave riding is the most popular and best recognized style of skimboarding. There are also more competitions and athletes in wave riding than other skimboarding divisions. There’s a wide variety of wave riding skimboards, and it’s essential to choose the right one for your ability, size, and style.
Wave riding skimboards can also perform a lot of advanced tricks, for they have the ability to reach deeper waters. The waves can act as a ramp, causing the board and its rider to fly in the air when hit. Different maneuvers can be made to the board during a wave ride or a jump.
2. Flat or inland skimboards
Inland boards are usually made of wood and are easy to find at a local skate or surf shop, depending on your location. Usually, inland boards are made of wood and are called “woodies” by skimboarders.
B. Materials
The materials the board is made of will influence its durability and performance. Ideally, you want a board that’s strong but also lightweight.
The cores of skimboards usually consist of either foam or wood, but some boards are made of other materials like carbon or fiberglass.
1. Foam
Foam boards (or foamies, as devotees of the sport would call them) are tailored to wave skimming. They are great to use for beginners as they are very forgiving. Due to its combination of lightness, flexibility, and thickness, foamies are ideal for wavy surfaces where the board is less likely to come apart during heavy use.
Most wave riding skimboard makers use a closed-cell foam, which is a high-density foam material that resists dings and water absorption. The foam is covered with a fiber-reinforced polymer to form a strong outer shell.
2. Wood
Wood core boards are rugged and meant to do tricks and grind rails. They can stand up well against shells, rocks, obstacles, and general wear. They are great for beginners because they are low-price and simple to make.
However, despite their leanness, they are stiffer, fast-sinking, and heavier. Because of that, wood boards are better suited for noncoastal bodies of water like lakes, creeks, rivers, and puddles. Avid skimboarders consider wood boards as the least preferable because they lack the durability of foamies. The main advantage of wood boards, at least for beginner skimboarders, is the lower prices at which they tend to sell.
3. Fiberglass
Fiberglass boards are faster, lighter, and offer more control over the water than wooden boards. It behaves better across the water and sand, which is important for doing tricks, but it’s easy to dent with shells and rocks, just like any other composite skimboard. It’s also a bit tricky to handle, making it an appealing choice for more experienced skimboarders.
4. Carbon fiber
Carbon fiber boards are stronger, lighter, and stiffer than fiberglass skimboards. They are faster on the water and on wet sand, but they are one of the most expensive choices. These boards are more commonly used by professional riders who ride big waves.
C. Skimboard size
The size of the skimboard you choose depends on different factors: your height, weight, speed, and skimboarding style. As a rule of thumb, it’s best to use the smallest board that can put the target waves within your reach.
Wider and longer boards allow for a greater distance than their smaller and narrower counterparts. This is because of the increased skimming surface, which makes things faster and boosts force. On the other hand, trickier moves are easier to perform on smaller boards.
Nevertheless, your body weight is your main consideration when determining what skimboard to choose. After all, a board that bears more than its own weight allowance would submerge, making the act of skimboarding impossible. Here’s a size chart to guide you:
- 80-140 lbs. – 45 inches or less (small)
- 120-160 lbs. – 45 inches to 47 inches (medium)
- 140-180 lbs. – 47 inches to 49 inches (medium to large)
- 160-200 lbs. – 49 inches to 51 inches (large)
- 180-220 lbs. – 51 inches or more (extra-large)
This is just a guide, as weight-to-size recommendations vary from manufacturer to manufacturer.
The speed at which you run is another thing to consider. Your ability to move within the water will depend on how fast you’re able to catch the waves, and the size of the board will affect it. For instance, an experienced skimboarder who does all sorts of tricky moves will likely have no problem managing everything on the smallest board that could support their body weight. But for someone who’s only been skimming for a while and has yet to hold balance along the waves for a few seconds at a time is better off with a larger board, regardless of body weight.
In other words, advanced skimmers can catch waves on small boards, while slower runners generally need larger skimboards.
D. Skimboard shape
The shape of the board is vital in determining how the board performs. High-performance skimboards are usually sharper with curve tails and noses. Beginner skimboards are often more stable and come with fewer curves in them.
Skimboard comes with a rocker, which is the curvature at its head. The board will curve upward for choppy waters when there’s more rocker. On the other hand, less curve will result in faster skimming on calmer waters. The rocker also influences how the board will react when a rider is on it. It’s comparable to the upturned nose on sleds, where more curve is better for deep snow. A steep rocker causes slower movement between the waves and the sand, making it ideal for choppy waters, while a shallow rocker offers easier movement in calmer waters.
At the other end, skimboards are usually equipped with either pintails, which offer better water balance, and square or W-tails that make it easier for skimboarders to perform tricks and various moves.
E. Wrap
The core of a skimboard is covered with a wrap, which is affixed with resin. Like the core, the material used for the wrap can affect the durability of a given board. Therefore, it’s wise to choose a skimboard with a good-quality wrap that’s made from one of the following materials:
- E-glass – This is the most common type of skimboard wrap material. However, it’s also the weakest, as it does not make the board resistant to tearing from the elements on the shore. Still, it adds protection, as well as flexibility and speed to the boards.
- S-glass and texilium – These wraps are typical in mid-priced boards. Both wraps bring added stiffness that’s lacking from E-glass, but it’s no problem for skimboarders who enjoy its faster performance.
- Carbon – This type of wrap is usually found on high-end skimboards. It’s the strongest of wraps – thanks to the tight weave of the material. It makes the board nearly impervious to rocks, shells, and other obstacles.
F. Grip
Skimboards that have a smooth deck will be slippery when wet. This will need waxing to ride on. Other boards come with grip pads or textured decks that make them easier to use without the need for waxing. The grip can make a big difference in your skimboarding experience.
G. Buoyancy
Traditionally, skimboards are not so buoyant. A typical skimboard you can buy from a surf shop is thin and is usually made from wood with a laminate. This is designed for skimboarding along with a shallow shore break. If you need to take your board out into a bigger surf, look for a more buoyant board.
How to Start Skimboarding for Beginners
1. Find the right spot.
Besides finding a flat beach to start, you also have to find the right spot. Try to get away from people as you don’t want to bump into someone while you’re practicing.
2. Relax and find the right pose.
Once you find the right place, relax and find the proper pose. Turn sideways to the right if you’re right-footed and left if you’re left-footed. Stand still and lean over while lowering the board to about six inches from the sand. Push the board across the stand, staying parallel to the shoreline. Ride, chase your board and step on it foot by foot. As you get on your skimboard, bend your knees.
3. Try your first real skim.
Hold the board with one hand on the tail and one on the other side. Wait for the wave to pass, and start running. Once you’ve reached full speed, drop the board on the sand in front of you.
Don’t jump on the board; run into it. It can be tricky or even a bit painful, but that’s how you skim. The goal is to land your front leg as close to the center of the board as possible and put your other foot behind it. If you jump, your board will carry too much weight, making it bury itself deep in the sand, and you’ll fall from it.
Important Skimboarding Reminders
- Skimboarding is fun as long as you don’t hurt yourself and other people, so staying safe is important. Considering that there will be lots of falls while you’re starting, it’s best to wear a helmet to protect your head. When falling, try to fall on your behind.
- Never try doing flips in shallow water, and before you skim, check the area for rocks, seashells, and anything that may cause injury.
- If you have a brave spirit, it’s essential to know your limits. Don’t run too fast if you’re not ready to fall. Don’t go into the waves before you’ve learned the basic maneuvers.
- Be responsible with your own gear. Don’t let your board get away.
- Try not to bother other people on the beach and in the water. Respect others’ boundaries and respect the lifeguards. Remember, you’re representing the whole skimboarding community.
- The reflection of the sun on the sea surface can be harsh for your eyes, so try to wear sunglasses as much as possible.
- Wear earplugs when skimming to prevent the surfer’s ear.
- Prioritize your health. Skimboarding requires lots of physical activity, so start working out and eat healthily if you want to avoid injuries. Give your time a chance to adapt to the new “stress,” so don’t force it. If you’re feeling tired, restless, or feeling like you can’t do it anymore – stop and rest. Always give your body a chance to recover to prevent injuries.
- This sport is hard on the knees and legs, and one way to reduce the stress is to exercise the muscles surrounding the knees using leg lift exercises and ankle weights.
- Stretching your back is also important to prevent injury before doing a lot of twists.
- Take care of your board. As much as possible, keep it away from the sun when not in use. Wax it and polish it. If it breaks, have it fixed.
- Don’t give up easily! It may be hard at first, but it’s worth it. You will fall and have to start over and over again, but once you get it, a whole new world opens for you.
Skimboarding Tricks for Beginners
These are some skimboarding tricks for beginners:
1. Spin
This is one of the most basic and easiest to learn. As you skim, squat down and touch the surface of the sand or water using one hand while using the other to do the spin. The most important part of this trick is bending your knees to balance gravity over the center and finding the correct angle that will keep the front of the board a little bit above the water. Otherwise, you’ll fall. Speed is also crucial since the faster you get, the more impressive your spin will be.
2. Shoot the duck
To do this trick, you have to master balance. Squat with your back leg pushed forward, and your backhand must touch the back of the board. Quickly stick the forward-raised foot to the sand, then grab your toes. Then, you get up.
3. Hippy jump
This is a simple yet impressive trick – you just need to jump over something while your board goes under, then you land back on the moving board. To do this, you have to bend your knees, and when you get near, jump with your knees pulled up and land on the board on the other side.
4. Flat backside 180
This trick will teach you how to land on the board properly, which is the most important thing you need to learn to perform the most advanced tricks. As you skim, turn your hips and swing back leg. Focus on the hips and not your feet. In case of trouble, turn your head to your back shoulder or try to move your upper body during practice. When you learn how to do it fast, your body will follow, and you’ll be more prepared to perform advanced tricks.
5. Flat frontside 180
This is the same as the last one but in the reverse direction. The goal is to use your front foot to rotate backward.
6. Wrap
This trick is when you skim in a straight line towards an incoming wave and do a U-turn up off the wave. Then, ride straight back to the point you launched from.
7. Shuy-it
You have to ride fast along a flat plain of water for this trick, then push your back foot down, flicking the board backward. At the same time, use your front foot to flick the board forward. Your feet will catch the board, and you continue riding.

