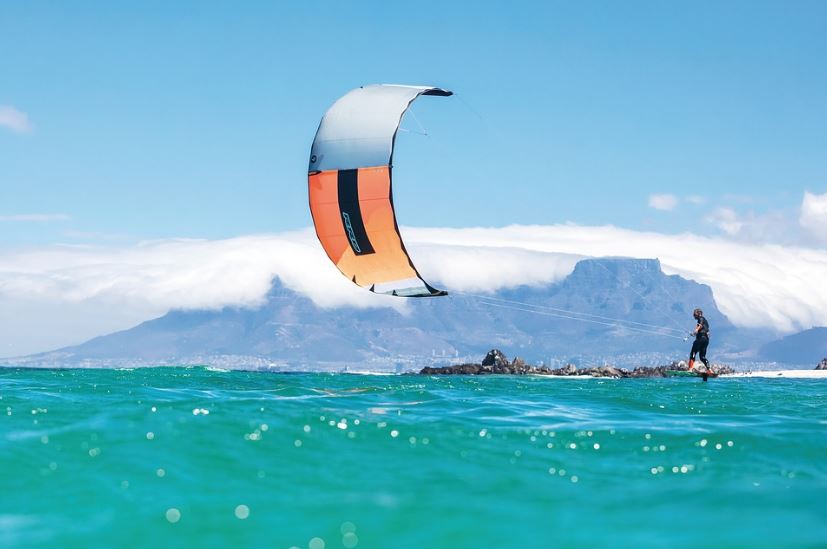
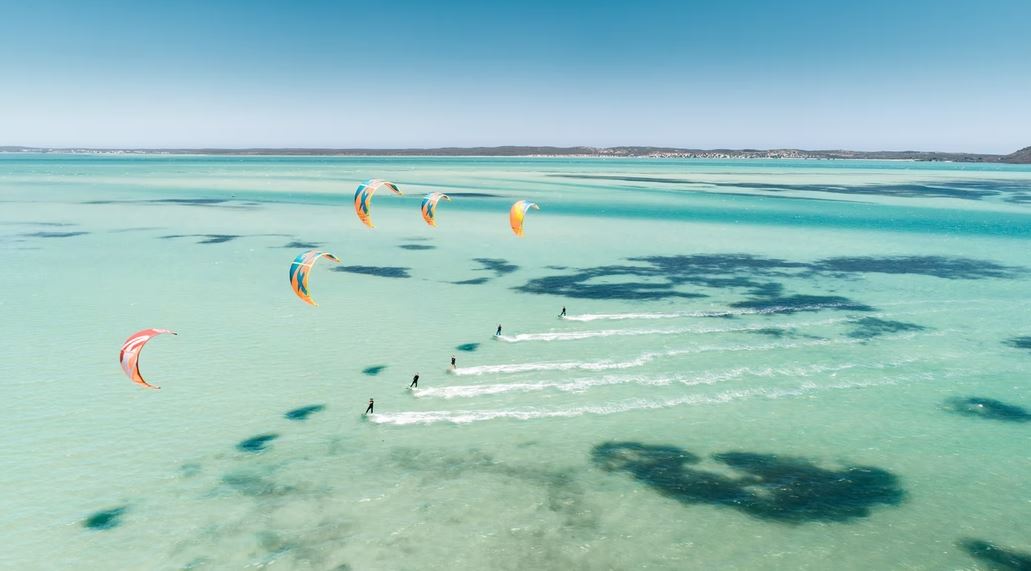
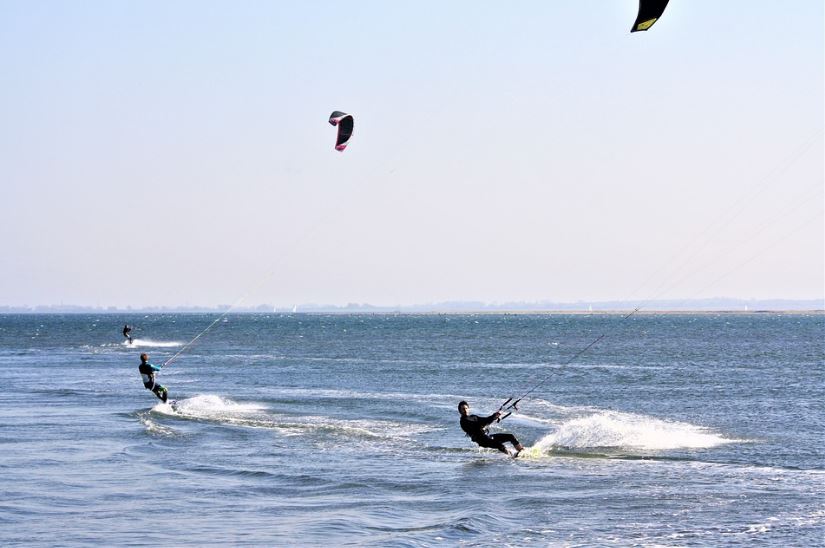
An exhilarating activity, kitesurfing is the water sport to try if you have always wanted to fly just right above the water. One of the most beautiful aspects of this water activity is that you’ll feel close to nature, especially to the elements, water, and wind. This is why it’s essential to understand the wind, know what equipment to use and what to do to be safe.
All these and more will be discussed in this guide.
What is Kitesurfing?
The word “kitesurfing” doesn’t even ring a bell for some people. But beach vacationers have probably witnessed it at some point, or maybe over the internet, in pop culture, or in your news feed. Looking at kitesurfers, you may wonder, “What are these guys doing dangling in the air under a big parachute, and how can they do that?”
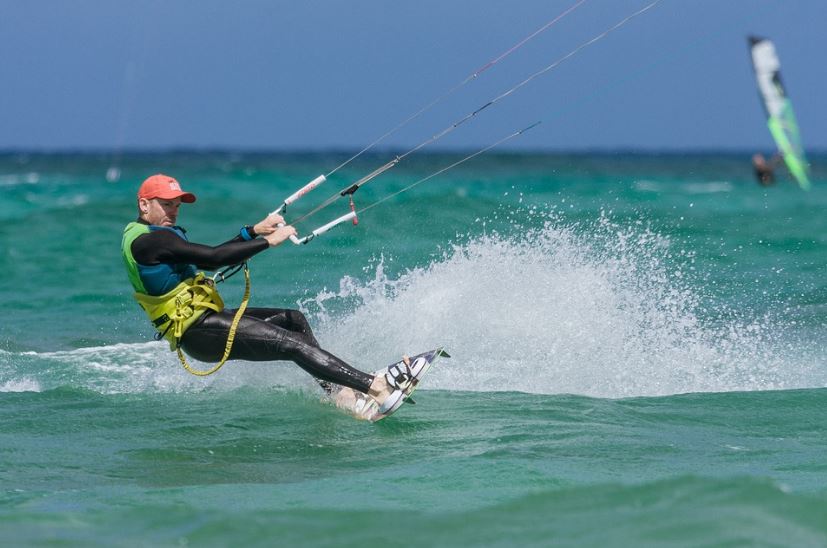
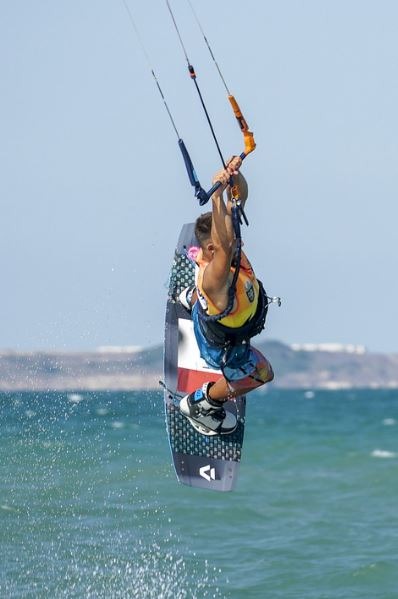
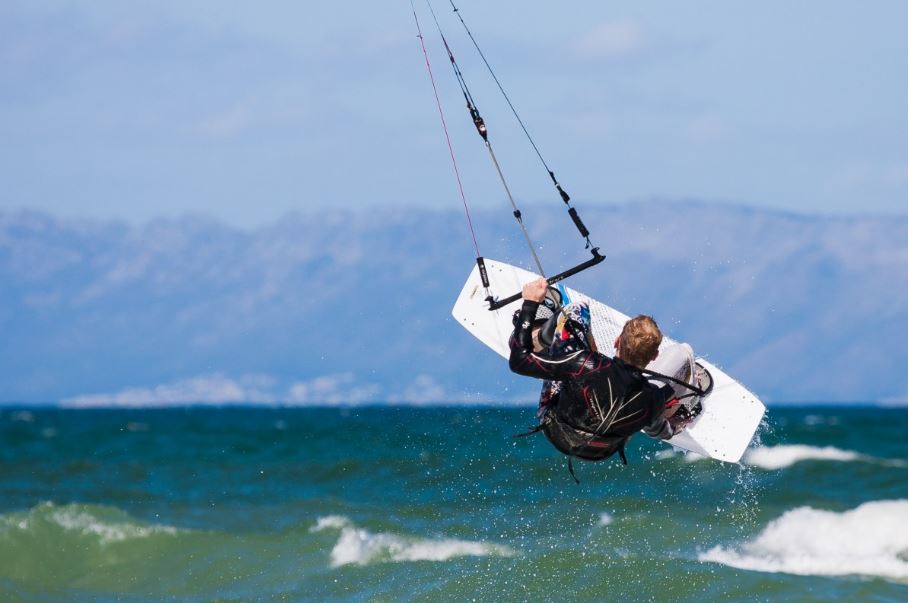
But over the recent years, this sport has become more popular. But what is kitesurfing exactly? It’s simple. It’s a sport wherein you are standing up on a surfboard, strapped in a waist harness, while being pulled along by a large kite in the air. In this sport, the kite is strapped to you through a harness, which means you don’t have to hold on to the kite with your hands. The harness absorbs the pull from the kite and spreads the force from your core to your whole body. The control bar helps you sheet out the excess pull from the kite.
Also known as kiteboarding, kitesurfing uses the wind and weather so you can glide on the surface of the water. This water sport is practiced in some beautiful locations worldwide, and it can make an unforgettable holiday or group experience.
Who can Kitesurf?
This sport is practiced by young and old, beginners, and experienced riders. Though it looks daunting at first, it’s actually an accessible sport that welcomes everybody, even children as young as seven years old. Most beginners are even new to board sports, water sports, or sailing.
Also, you don’t need to have massive biceps so you can glide steadily glide in the water. With the right kite, nearly everyone can kitesurf because it’s not the arms that take the strain but the pull of the kite that goes through the harness. In kitesurfing, it’s the core muscles that get the workout.
When it comes to the physical requirements to kitesurf, participants must have at least a minimum level of fitness. As mentioned earlier, you don’t need to have strong, big biceps for this sport, but essentially, your upper body strength, core stability, and aerobic fitness will be tested when kite surfing. If you should prepare any area of your body for kitesurfing, consider those three areas:
- Upper body strength – This will help you carry your equipment in and out of the water and steer your kite smoothly and efficiently. Build strength and endurance on your upper body by doing upper body workouts with or without weights.
- Core stability – Having a strong and stable core can help reduce the chances of body pain and injuries after a kitesurfing session. It can also help maintain your comfort during long sessions of balancing and kitesurfing in the water.
- Aerobic fitness – You must have a healthy heart and good lungs to be able to endure long sessions. At first, you may fall down the water a lot, and going back up repeatedly can easily tire you out if you’re not doing regular aerobics. This becomes especially true once you try pushing your limits with tricks or riding the board in stronger wind directions.
When it comes to skills, the bare minimum is you must be able to swim. Every other skill can be learned with a qualified instructor. If you already have experiences with other board sports like surfing, wakeboarding, skateboarding, or snowboarding – that’s great! It means you already know how to balance when getting on the board, but it’s not a guarantee that you’ll nail the sport on the first try.
Different Forms of Kitesurfing
Kitesurfing or kiteboarding has evolved a lot in the past decades. Because of that, the sport became divided into multiple disciplines, such as:
- Freeride
- Wave riding
- Freestyle
- Foiling
- Slalom/course
- Speed
- Big air
- Wake park riding
- Kite landboarding
- Kite buggying
Different types of kites and boards are used in kitesurfing, and there are multiple combinations for each situation and riding style. Once you’ve mastered the basics and can kitesurf independently, you can try and see what discipline you like to do the most.
In addition, if you tried the sport but didn’t enjoy it on the water, the skills you’ve acquired will not go to waste. You can also perform this activity on land by doing snowkiting or mountain boarding. On the snow with a snowboard or a pair of skis, you can ride uphill, downhill, or straight across. You just need some wind to experience this thrilling activity.
How to Learn Kitesurfing
Kitesurfing is one of those sports that is actually a lot easier than it looks. If you already had a go at skateboarding, wakeboarding, or snowboarding, or if you’ve flown a power kite, you’re already more than halfway there. Usually, a three-day, four-hours-per-day course can get you up and riding with confidence. Then, you can get as much practice as possible to consolidate your skills and get comfortable riding up the wind.
1. Learn to fly a trainer kite.
To get acquainted with kitesurfing, learning how to fly a trainer kite on land would be helpful. A trainer kite is a small, two to three-meter traction kite that will allow you to learn the basics of kite flying before hitting the water. It’s a great way to learn about the wind window and power zone, which you’ll need to understand for kitesurfing.
If you master basic kite skills on a trainer kite before taking kitesurfing lessons, you’ll save time and money. You can also use it later for snowkiting or mountainboarding.
2. Practice on a skateboard.
There’s a lot of crossover in boardsports, and getting good at sports like skateboarding, wakeboarding, surfing, and snowboarding will mean that you’ll be instantly more at ease on your board. The advantage of being comfy with the board is that you can focus on flying a kite than keeping your balance on the board. If you are experienced in wakeboarding, it will be easy for you to kitesurf, s it is the closest water sport to it. But if you’re nowhere near the water, you can prepare by digging out your old skateboard and trying to balance and move.
3. Watch videos.
Watch as many instructional videos on kitesurfing as you can. This will help you familiarize yourself with the basics so you can progress much faster when you take lessons. There are many great videos out there that can teach you the basics. But remember that videos can’t be a substitute for professional kitesurfing instruction.
4. Get lessons from a qualified instructor.
The best way to learn to kitesurf while progressing quickly and safely is from a qualified instructor. If you have a friend or family member who knows how to kitesurf, they may be able to teach you, but you can be more serious and be willing to go through the right process if you’re under the instruction of a professional.
If you’ve given yourself a head start by following the first three steps mentioned above, you can dramatically cut down your teaching time.
5. Buy kitesurfing gear appropriate to your local conditions and skill level.
You will crash the kite when you start, and that’s normal. It’s best if you master your kite flying skills on a trainer kite first, as they are a bit tougher and don’t have an inflatable leading edge. Then, you will use your kitesurfing school’s gear, and it’s most likely to get a good trashing. This is the reason why it’s best to get lessons first before you buy your own gear.
After your lessons, look for any second-hand gear for sale. Invest in new gear only if you have a certain level of mastery with the sport or if you’re sure you’ll be doing it often.
6. Check weather conditions.
Before starting a kite session, check the weather conditions, the tides, and the location. You can check the forecast on wind-dedicated websites to know what wind conditions await you for the day. Don’t go kitesurfing in rough weather or when a strong wind is anticipated. For beginners, it’s kiteable from 12 knots (22 km/h) to 30 knots (55 km/h). If it’s more than 30 knots of wind, you can put yourself in danger.
Equipment Used for Kitesurfing
Speaking of kitesurfing gear, you can’t do this sport without them! Your kitesurfing school must have good and not-too-old equipment to use, for there have been many improvements regarding safety in recent years. Here are the different kinds of equipment you might use for kitesurfing.
1. Kite
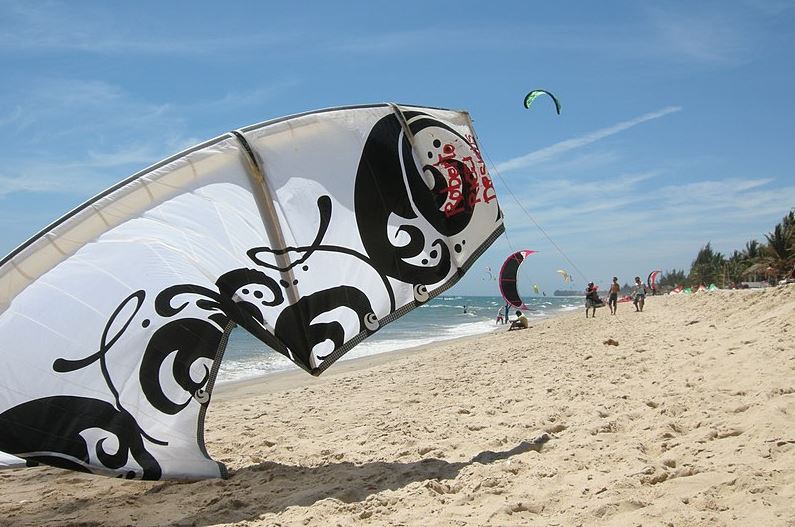
The most obvious piece of equipment for kitesurfing is the kite. It’s an essential part because it’s the wing that will pull you and help you ride on the water. There are different forms of kites according to the wind and style you are practicing.
Kites used for kitesurfing vary in shapes and sizes depending on the strength of the wind, weight of the user, skill level, and the kitesurfing discipline you’re practicing.
A. Types of Kites
Since kitesurfing started, there have been many different variations of kites used. The two main categories are LEI and foil.
- LEI (C-shapes, delta kites, bow kites, hybrids)
LEI, which stands for leading-edge inflatable, is a single skin kite with inflatable bladders that give the kite structure. LEI kites are flown using a control bar with either two (old school), four (modern and most common), or five (most C-Kites) lines.
LEI kites are most commonly used for kitesurfing because they’re great for use in the water. The inflatable bladders cause the kite to float on the water, so it can sit on the water indefinitely and still be relaunched with ease.
This kite category can be broken down into four more specific designs: hybrid kites, C-kites, delta kites, and bow kites. Compared to foil kites, LEI kites relaunch more quickly, are easier to fly, and are more stable in gusty winds.
- Foil kites (ARC, bridled)
Foil kites have no inflatable bladders, so they work with either closed or open-air cells that fill up and take shape with the airflow that enters the kite. If the kite is dropped in the water, air cells can fill up with water and cause the kite to sink.
However, foil kites are the most efficient design for kites because they can generate more power and operate in lighter winds than LEI kites.
The easiest way to distinguish a foil kite from a LEI kite is by looking at its shape. Foil kites have a higher aspect ratio, or the proportion between the span and the kite’s surface area, making them look longer and thinner in length.
B. Construction
Kites are usually made of a material called ripstop polyester. In addition to that, there’s an inflatable plastic bladder that spans the front edge of the kite as well as the smaller struts perpendicular to the main bladder.
In addition to ripstop polyester, kites use a mix of different materials that reinforce the durability and overall shape rigidity of the kite, such as:
- Ballistic Kevlar
- High-tenacity Dacron
- Dacron DP175
- Neoprene
- Polyurethane
- Cuben fiber
C. Why Kites Fly and Pull
Most people assume that kites fly because the wind pushes the canopy, but that’s wrong. There are actually four forces at play that makes kitesurfing possible: lift, weight, thrust, and drag. These forces affect the kite the same way it affects airplanes and other things that fly.
- Lift – the upward force that pushes the kite to the air.
- Weight – the downward force caused by gravity that pulls the kite toward the ground.
- Thrust – the forward force that propels a kite into the direction of motion, allowing the kite to rely on the tension from the lines and moving air created by the wind.
- Drag – the backward force that attracts opposite to the direction of motion.
Though you may not completely understand why, the main takeaway is that kites don’t fly with the wind but through the wind, as an airplane wing would.
2. Boards
Boards vary in shapes and sizes, which affects performance. It also varies depending on the discipline you are practicing. Here are some of the most popular types of boards:
- Twin tip
The most common type of board, the twin-tip board has a symmetrical outline (both tips are identical). This board enables the rider to go right or left without switching feet. It’s mostly used when kitesurfing and most probably the type you will use as you progress.
- Directional board
As the name suggests, directional boards allow the rider to go in one direction at a time. To change directions, the rider has to change their feet position or ride toeside. It’s designed for wave riding since riders can carve through the swell while being pulled by the kite. A directional board enables you to kitesurf while feeling like surfing.
- Hydrofoil board
Hydrofoil boards have a vertical mast attached to a wing and stabilizer. It acts as a plane underwater to lift the board above the water surface. As you gain speed, you create more lift which makes you hover above the water. Using your balance, you can glide around with little drag in the water.
3. Control bar and steering lines
Kitesurfing without a bar is like riding a motorcycle without a handlebar – it’s useless. This is a piece of essential equipment for kitesurfing as well. When the rider steers the kite, the input in the bar is transmitted to the kite through the steering lines.
Control bars vary in weight, length, and comfort, depending on the design. In general, smaller bars are made for smaller kites, while larger bars are made for larger kites. Bar sizes change in accordance with the kite size for proportional leverage and control.
The safety system of each control bar varies slightly, but the more modern and safer equipment works with a push-away quick-release system that opens the “chicken loop” and decreases the power of your kite. This quick-release system is the reason why the sport became safer and more accessible to people of all ages and fitness levels. Previously, kitesurfing was considered a dangerous activity because you can’t decrease the power of the kite, so it was only for adrenaline junkies and professional water boarders.
How many you will have varies on the type of kite you’re flying when it comes to lines. Most of the time, the bar has four or five lines connected to the kite, allowing you to steer the kite to the right or left or move to the left or to the right.
4. Harness
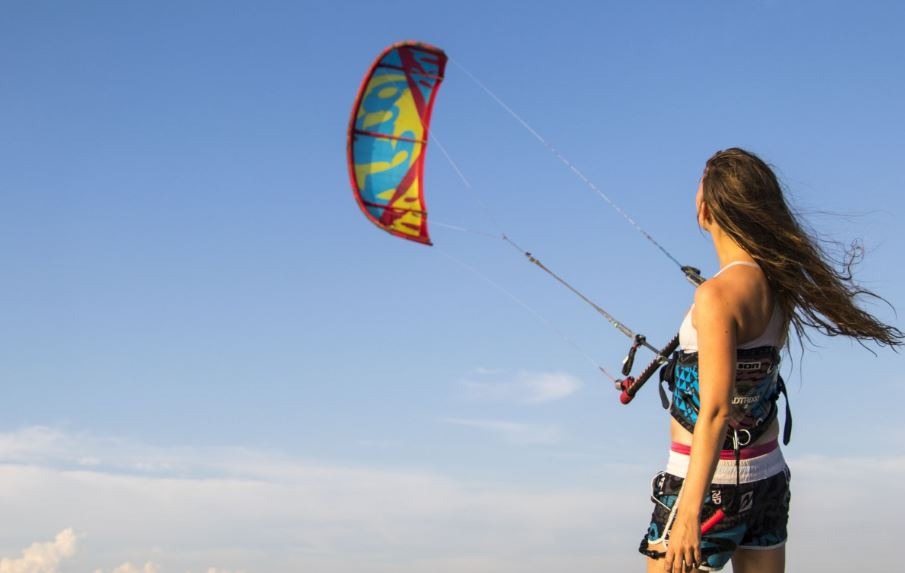
The harness connects you to the control bar and transfers the pull of the kite to your waist. As you can imagine, holding the bar and the whole pull of the kite with your hands can be exhausting and taxing to your body. This is why a harness is used to leverage the power of the kite.
There are two types of harnesses:
- Waist harness – This wraps around the waist and does not have leg straps. It’s better for jumping and doing tricks.
- Seat harness – This sits lower than a waist harness, as the main body of the harness is around the kiter’s hips. It offers more support and comfort, making it ideal for beginners, but it can restrict range of motion for those into advanced tricks.
5. Safety leash
A safety leash connected to the front part of the harness and onto the safety line allows your control bar safety system to be efficient. It’s connected to the most important pieces of equipment you have – the harness and the bar at the so-called chicken loop.
6. Helmet
A helmet protects your head from falling kites, obstacles, swinging boards, hazards on the beach, and even water impact. It’s important to wear a helmet since many things can happen when doing an action sport.
7. Wetsuit or rash guards
Depending on the temperature of the water, you might want to wear a wetsuit to be comfortable. But often, rash guards would be enough.
8. Buoyancy aid
You might be a good swimmer, but sometimes you need a safety assurance as waters can be treacherous even on a perfect day. A personal floatation device (PFD) or a life jacket can give you a buoyancy aid to help you stay afloat, catch your breath after crashing, or help you swim back to the shore if you need to.
9. Line cutter
In rare emergency cases, a line cutter is used to cut a line from your kite or someone else’s, for instance, if a line gets wrapped around a part of your body. Most modern harnesses come with a slot under the spreader bar for storing a line cutter.
10. Other kitesurfing accessories
In addition to those gear mentioned above, you can also use water sport sunglasses, a sun protector, walkie-talkie systems, waterproof music players, etc. These are not essential to kitesurfing, but they can enhance your experience. Don’t forget to put on sunscreen to protect your skin.
Important Safety Tips
When you are kitesurfing, you can lose control of the kite for different reasons. And when you lose control of the kite, a lot of unfortunate things might happen, and your life will be your primary concern. Here are the three safety steps that can help save your life:
- Let go of the bar completely. When you let go, the kite will drop in the water, and 95% of the time, it will stop pulling you.
- If the kite is still pulling you or if it starts to loop, use the quick release, which will open the chicken loop. You will still be connected to the kite through your safety leash, but the kite will lay on the water against the wind, so there will be no power anymore.
- If the kite still happens to pull you because the quick release is blocked, or if the kite is stuck in a boat, a wave, or a tree – you need to release the safety leash. You will no longer be connected to the kite, and you will have to swim back to the beach.

